Booking a US Embassy Appointment from Egypt in 2025
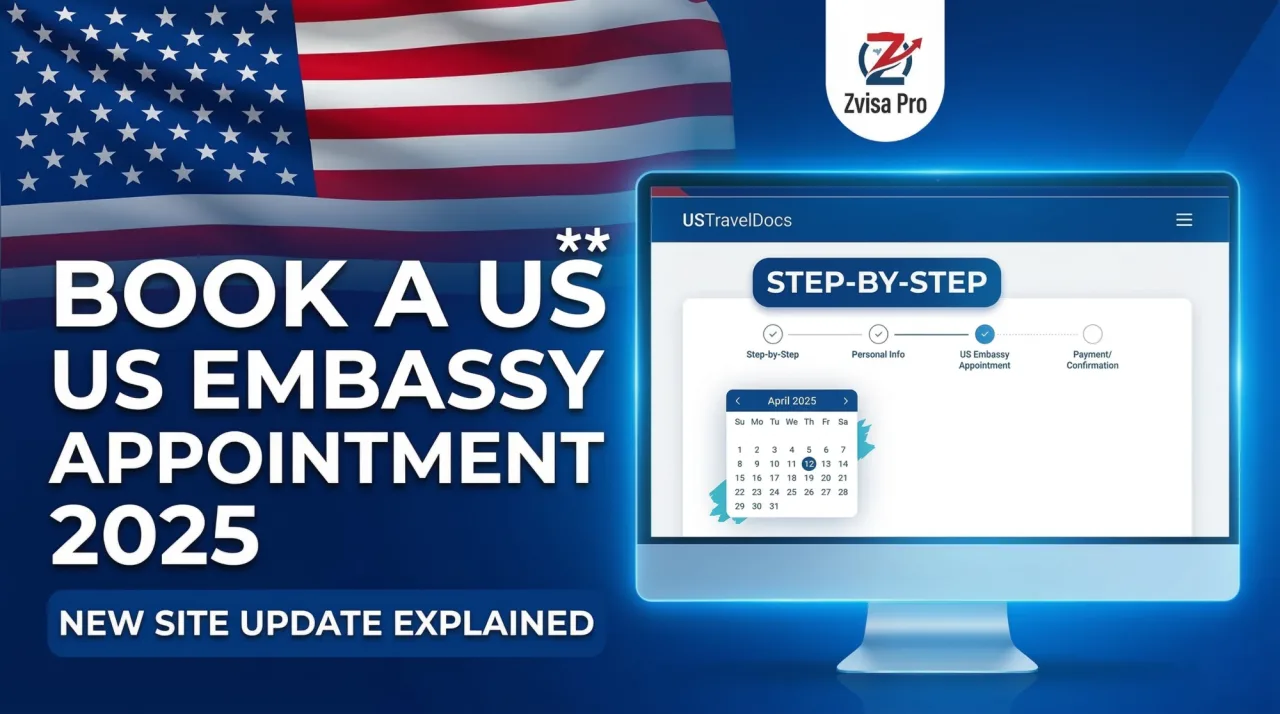
The US Embassy appointment system has been updated. This step-by-step guide walks you through the entire process on the new USTravelDocs website — from creating your account to confirming your appointment.
Before You Start — What You Need
Before booking your appointment, you must have already completed the DS-160 online application form. You will need the confirmation number (shown in red/maroon) — this number must match exactly what you enter on the booking site.
Step 1: Go to USTravelDocs
Search for "US Travel Docs" on Google. On the website, select Egypt and choose Arabic language for the Arabic interface. Then select "Non-immigrant Visa".
Step 2: Read the Important Notices
The site will display important notices — the most critical one is that your DS-160 number must match exactly with the number you register in the system. Do not skip this step.
Step 3: Create Your Account
- Click "Login" then "Register Now" (if you do not have an account)
- Enter your username (use your first three names)
- Create a password and confirm it
- Enter your email address
- A verification code will be sent to your email — enter it to confirm
⚠️ Important: You will be asked security questions. Write these down in a safe place — you will need them if you forget your password.
Step 4: Fill in Your Personal Details
After verifying your account, enter:
- Your full name exactly as it appears in your passport
- Your last name (family name)
- Preferred language (Arabic)
- Email address
- Country (Egypt)
Step 5: Start a New Application
Click "New Request" and fill in:
- Contact information
- Postal address
- Passport details — including Place of Issue exactly as written in your passport
- Visa type: Non-immigrant — Cairo
- Visa category: B1/B2 (Tourism/Business)
Step 6: Enter Your DS-160 Number
Copy your DS-160 confirmation number directly — do not type it manually to avoid errors. Even one wrong digit will require you to start over.
Step 7: Age Verification
The system will ask if you are under or over 14 years old. This determines whether an in-person interview is required.
Step 8: Choose Your Delivery Method
You have two options for passport return after processing:
- Premium Delivery: Passport delivered to your home — additional fee applies
- Service Location (SLS): Pick up from a service center — free of charge
Step 9: Pay the Visa Fee
The visa application fee is $185 USD (approximately 9,805 Egyptian Pounds).
Two payment methods are available:
- Cash: Go to First Abu Dhabi Bank with the barcode generated by the system. Activation takes 24–48 business hours.
- Credit Card: Must be a credit card (not debit). Enter your card details and pay — activation is immediate.
Step 10: Select Your Appointment Slot
After payment confirmation, available appointment slots will appear on the left side of the screen. Select your preferred date and time, click "Submit", and print your appointment confirmation.
Need to Reschedule?
If you need to change your appointment date, use the "Reschedule Appointment" option available in the site interface.